Simple Guide: How to Repair a Leaking Copper Pipe
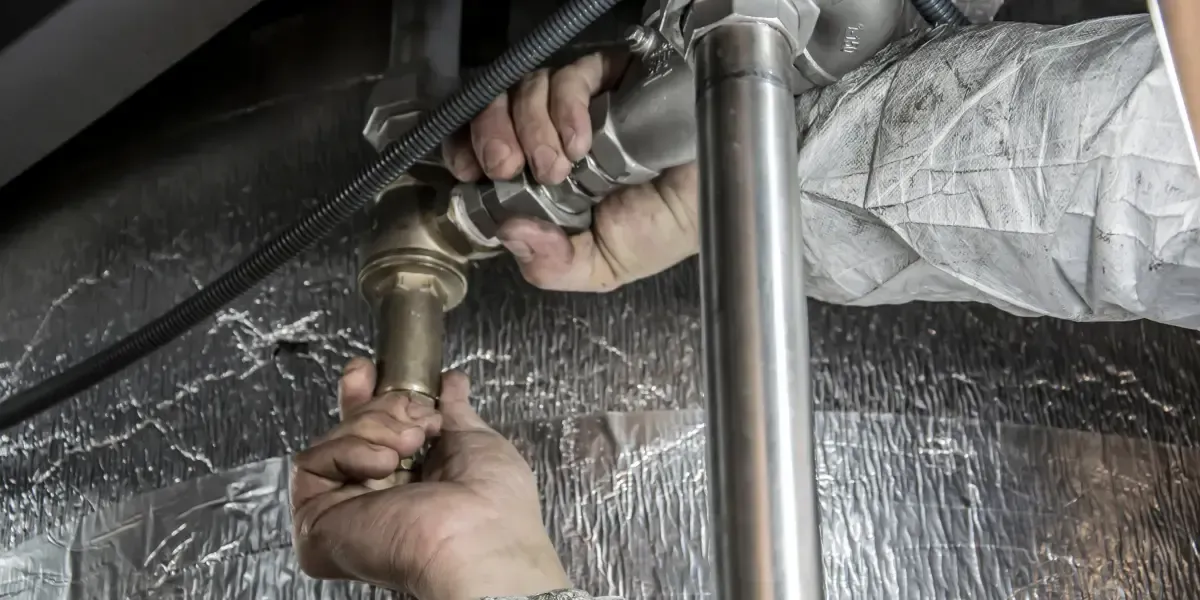
Copper pipes are widely used in plumbing systems due to their durability and resistance to corrosion. However, over time, they may develop leaks due to wear, corrosion, or accidental damage.
If left unchecked, a leaking copper pipe can lead to water damage, mold growth, and costly repairs. Fortunately, repairing a leaking copper pipe is a manageable DIY task with the right tools and knowledge.
Key Takeaways
- Identifying the exact location of the leak is the first step in repairing a copper pipe.
- Proper tools and materials, such as a pipe cutter, flux, and lead-free solder, are essential for a successful repair.
- Turning off the water supply before starting the repair prevents further water damage.
- Cleaning and preparing the pipe before soldering ensures a secure and leak-free connection.
- Temporary solutions such as epoxy putty or repair clamps can serve as quick fixes until a permanent repair is made.
Step 1: Identify the Leak
Before beginning any repair, it is crucial to locate the leak. Signs of a leaking copper pipe include visible water drips, damp spots on walls or ceilings, corrosion marks, or an unexplained increase in your water bill. Carefully inspect the affected pipe and pinpoint the exact location of the leak.
Step 2: Gather Necessary Tools and Materials
To repair a leaking copper pipe, you will need the following tools and materials:
- Pipe cutter
- Emery cloth or sandpaper
- Propane torch
- Flux brush
- Replacement copper pipe
- Copper couplings
- Lead-free solder
- Pipe repair clamp (for temporary fixes)
- Epoxy putty (for temporary fixes)
Step 3: Turn Off the Water Supply
Before you start cutting or soldering the pipe, turn off the main water supply. This step is essential to prevent further leakage and water damage. Open a faucet at the lowest point in your home to drain any remaining water from the pipes.
Step 4: Drain and Dry the Pipe
After turning off the water supply, allow the pipes to drain completely. Any residual water inside the pipe can interfere with the soldering process, making it difficult to achieve a secure bond.
Step 5: Cut Out the Damaged Section
Using a pipe cutter, remove the section of the pipe where the leak is located. Ensure your cuts are straight and precise for a proper fit with the new pipe section.
Step 6: Prepare the Pipe and Fittings
To ensure a strong bond, clean the ends of the existing pipe and the inside of the copper couplings using an emery cloth or sandpaper. Apply a thin layer of flux to the cleaned ends of the pipe and the inside of the couplings to promote proper adhesion.
Step 7: Install the Replacement Pipe Section
Insert the replacement copper pipe into the existing pipe using copper couplings. Make sure the pipes fit snugly to prevent leaks.
Step 8: Solder the Joints
Using a propane torch, heat the joint evenly. Once hot, apply lead-free solder to the joint. The solder will melt and create a secure seal, preventing any future leaks.
Step 9: Inspect and Test the Repair
After the solder has cooled, visually inspect the joint to ensure a proper seal. Turn the water supply back on and monitor the repaired section for any leaks. If no leaks are present, the repair is complete.
Alternative Temporary Fixes
If you need a quick fix before performing a permanent leak repair, consider these options:
- Pipe Repair Clamp: A clamp with a rubber gasket can be placed over the leak to temporarily stop it.
- Epoxy Putty: Apply epoxy putty over the leak, which will harden and seal the hole temporarily.
- Pipe Repair Tape: Specialized repair tape can be wrapped tightly around the leak to provide a short-term solution.
How Express Plumbing and Drain Can Help You
If you are unsure about repairing a leaking copper pipe yourself or need professional assistance, Express Plumbing and Drain is here to help.
Why You Should Choose Us
- Experienced Professionals: With years of experience, their team provides high-quality plumbing solutions.
- 24/7 Emergency Services: Leaks can happen at any time, and their experts are available around the clock to assist you.
- Affordable Pricing: They offer competitive pricing without compromising on quality.
- Advanced Technology: Express Plumbing and Drain uses the latest tools and techniques for efficient repairs.
- Guaranteed Satisfaction: Their top priority is customer satisfaction, ensuring that your plumbing issues are resolved effectively.
Conclusion
Repairing a leaking copper pipe is a manageable task with the right tools and knowledge. By following this simple guide, you can prevent water damage and maintain the integrity of your plumbing system. However, if you are not confident in performing the repair yourself, seeking professional help from Express Plumbing and Drain ensures a safe and reliable solution.
Frequently Asked Questions
How do I know if my copper pipe is leaking?
Signs of a leaking copper pipe include water stains, moisture buildup, corrosion marks, and an increase in your water bill.
Can I repair a copper pipe without soldering?
Yes, temporary solutions such as epoxy putty, repair clamps, or push-fit connectors can be used. However, soldering provides a more permanent fix.
How long does it take to repair a leaking copper pipe?
A basic repair can take anywhere from 30 minutes to an hour, depending on the complexity of the leak.
Is it safe to solder a pipe near a wall?
If soldering near a wall, use a heat shield to protect surrounding surfaces from heat damage.
When should I call a professional plumber?
If the leak is extensive, if you are unsure of the repair process, or if the plumbing system requires complex fixes, it is best to contact a professional plumber like Express Plumbing and Drain.

